Quick Guide – Asset
Step 1: Account Creation and Login

1.1 Visit our Website:
Navigate to [Your Company Website] and click on the “Sign-Up” or “Get Started” button.
1.2 Account Creation:
Fill in the required details to create your account. Ensure accuracy in your information for seamless account management.
1.3 Login:
After creating your account, log in to the system using your credentials.
Step 2 : Dashboard Overview
2.1 Navigate to Dashboard:
Upon logging in, you’ll be directed to the dashboard. Familiarize yourself with the layout and main features.
2.2 Asset Overview:
View a snapshot of your assets, including their status, location, and recent activity.

Step 3: Asset Configuration

3.1 Add New Asset:
Click on the “Add Asset” button to start configuring a new asset. Input details such as asset type, barcode information, and assign it to an employee if applicable.
3.2 Customize Asset Fields:
Tailor additional fields to capture specific information about each asset, ensuring a personalized tracking experience.
Step 4: Real-Time Tracking
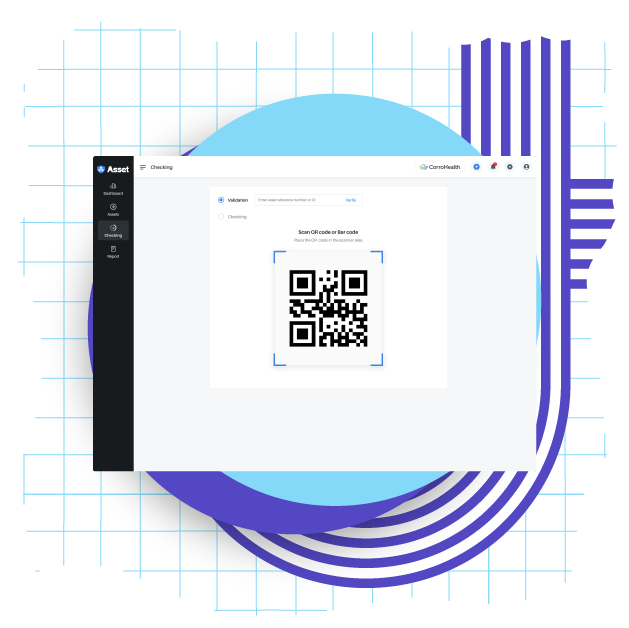
4.1 Scan Barcode:
Utilize the barcode scanner feature to check assets in and out. Scan the barcode on the asset to update its status in real-time.
4.2 View Asset Location:
Track the location of your assets on the dashboard. The system provides real-time updates, giving you instant visibility.

Step 5: Alerts and Notifications

5.1 Configure Alerts:
Head to the settings section to configure alerts based on your preferences. Set up notifications for check-ins, check-outs, and other relevant activities.
5.2 Notification Center:
Monitor alerts in the notification center. Stay informed about any unusual asset activities that require attention.
Step 6: Integration with Other Tools
6.1 Explore Integration Options:
Visit the Integration section to explore options for connecting the Asset Locking System with other tools your organization uses.
6.2 Connect Applications:
Follow the integration guide to seamlessly connect the system with your preferred applications, ensuring a unified workflow.

Step 7: User Training and Support

7.1 Access Training Resources:
Find user manuals, video tutorials, and additional training resources in the support section to enhance user proficiency.
7.2 Customer Support:
If you encounter any issues or have questions, our 24/7 customer support team is ready to assist. Reach out via email, phone, or the online support portal.


